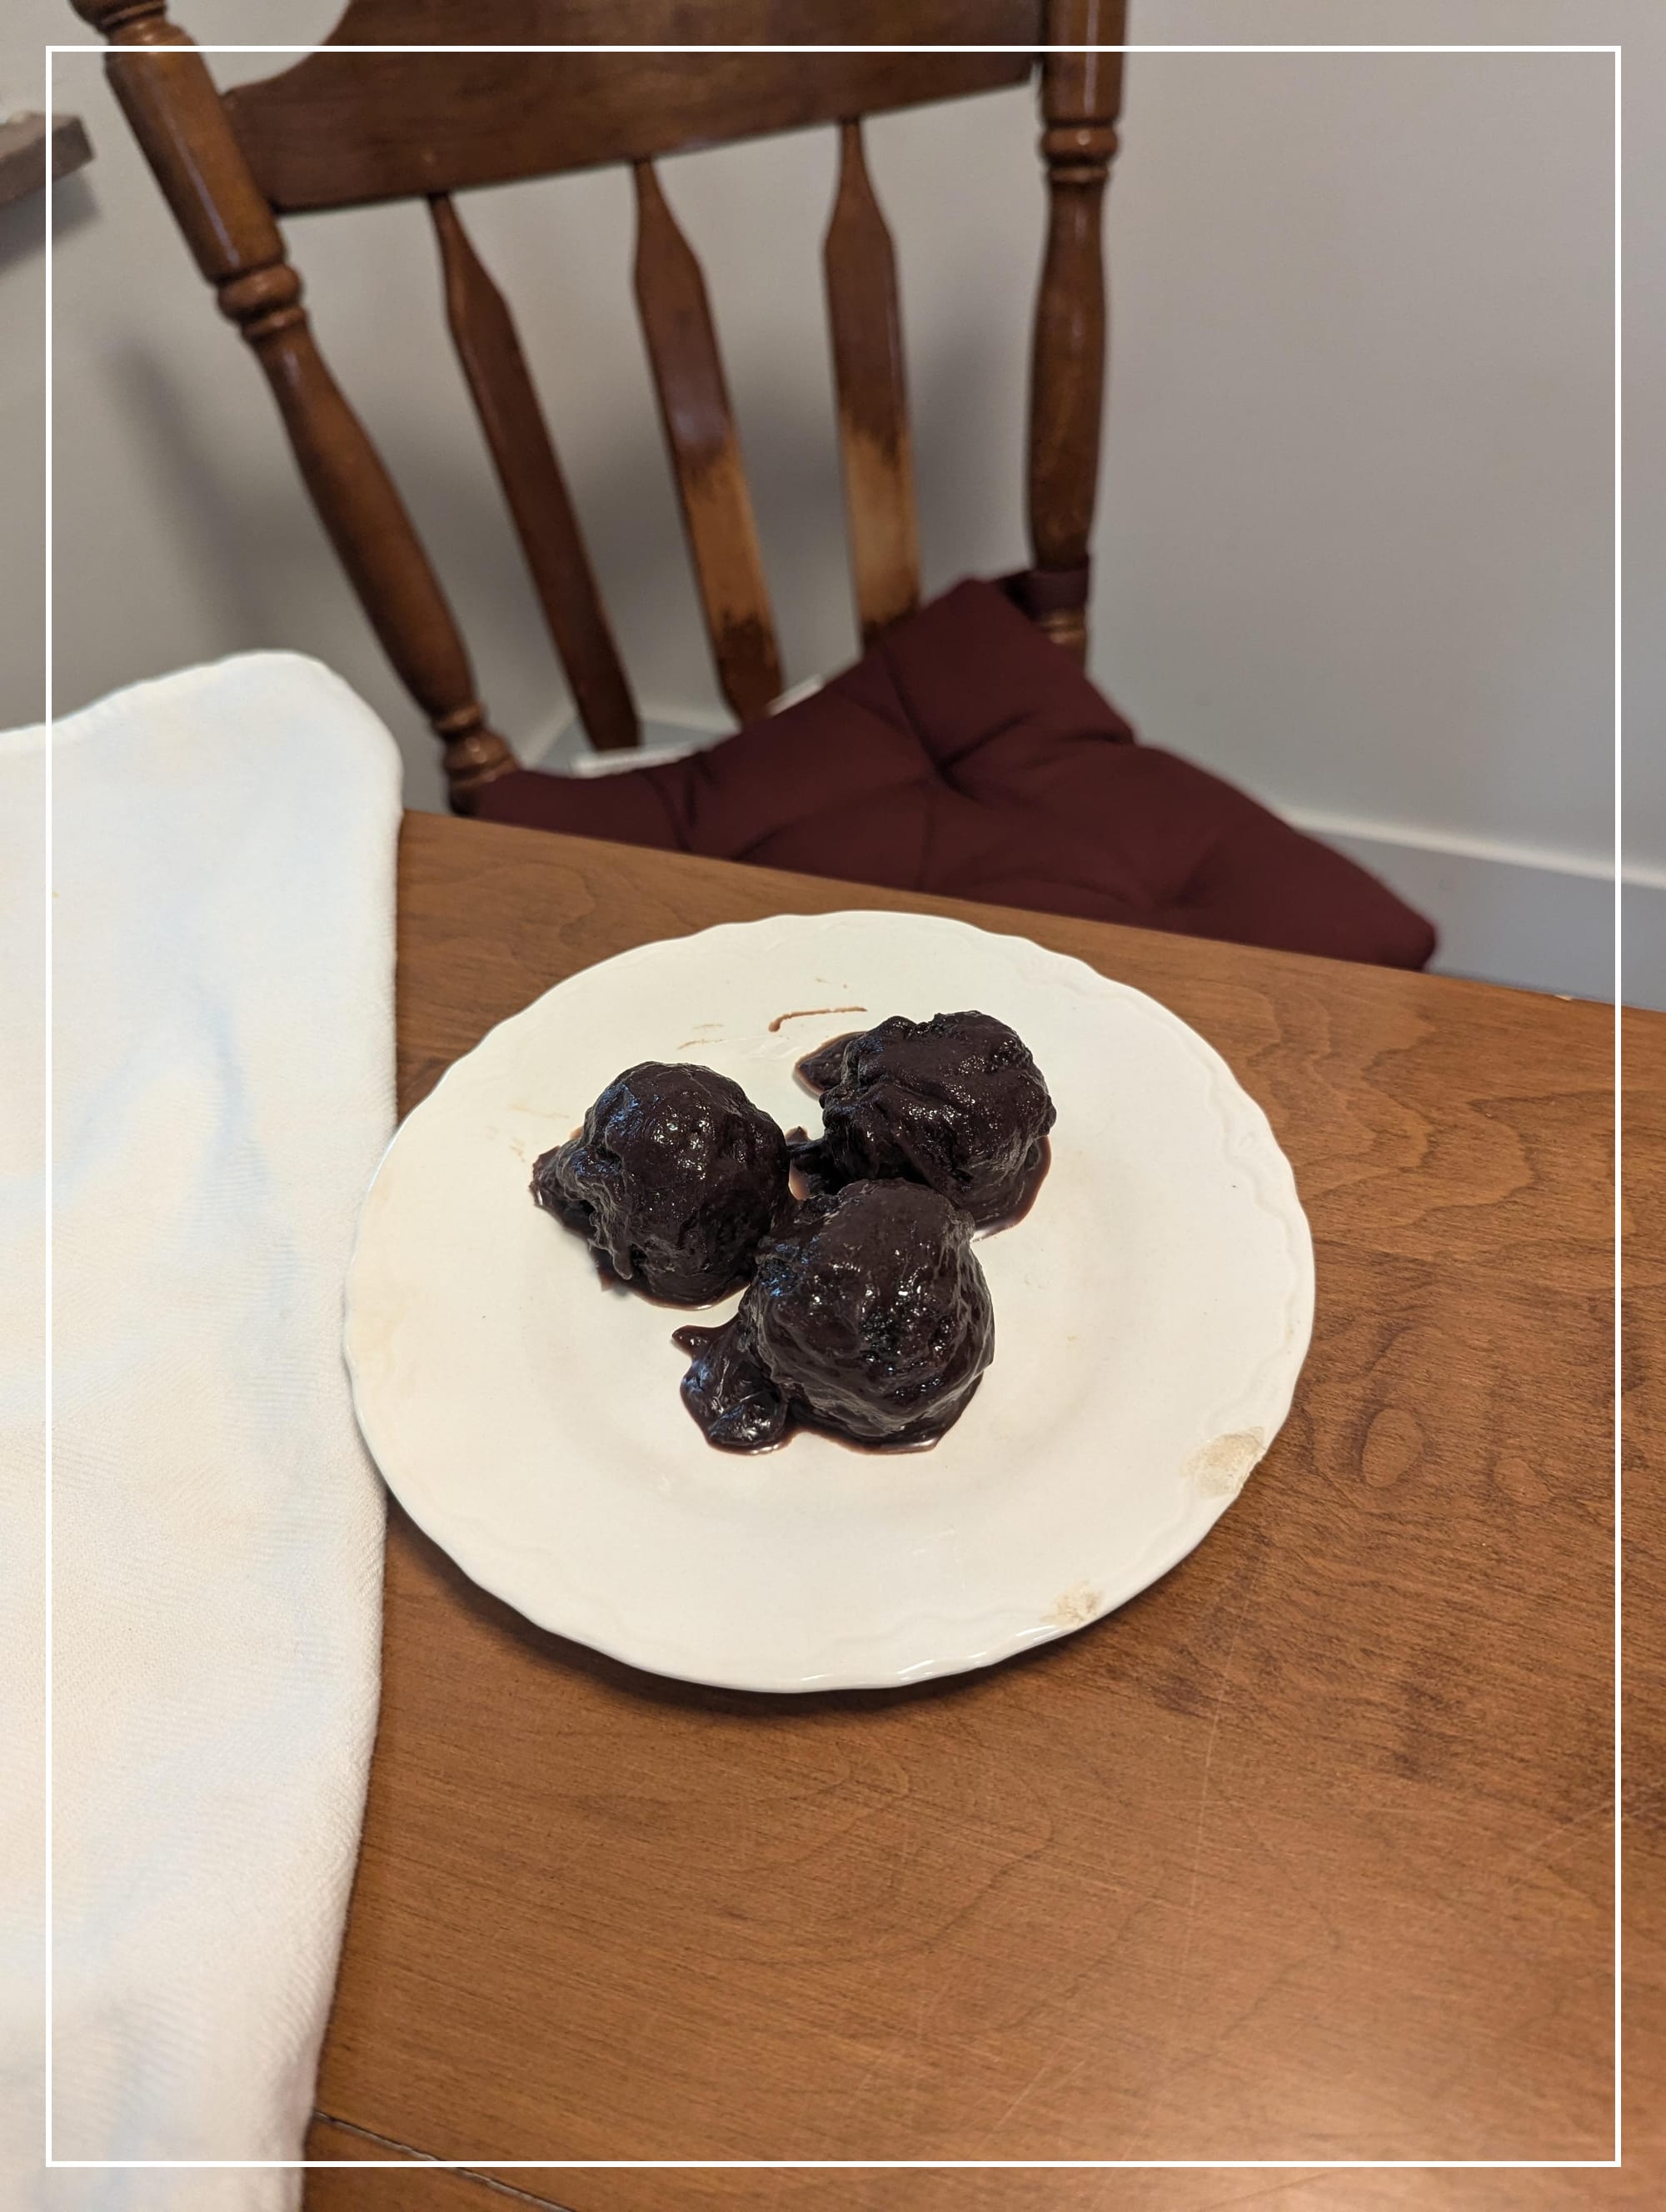
Extremely Homemade Not Professionally Done Oreo Balls (Oreo Truffles)
The way I make Oreo Balls is mostly traditional but one thing that sort of accidentally happened, specifically with grinding up the cookies, is the fact that I was using a blender (an older one I had for years) with blades that weren't as sharp as they once were. Also, in general a food processor is usually better for grinding up Oreos into fine crumbs. So I ended up getting some crumbs and some larger chunks of the cookies. Which I actually like. I think it gives these a little more texture. It is up to you though, you can either grind up the cookies into a very fine crumb or pulse a few times leaving some chunks. I am also terrible at dipping things in terms of the final product looking pretty. I try and try and it always looks like it was my first time doing it. These always taste good though, no matter what they look like!
The Oreo Balls
- 36 Oreos (regular, not double stuffed)
- 8 oz. full fat cream cheese, softened
The Dipping Chocolate
- 12 oz. chocolate (you can use semi-sweet, dark, milk or white. I usually use semi or dark.)
- 1/2 tsp. coconut oil or a pat of butter
- Or if you don't want to make a homemade dipping chocolate, you can buy a dipping chocolate that is ready to go, you just need to melt it. This will be in the baking aisle.
- Optional-Toppings. Use whatever toppings you want. Coconut, more chocolate, nuts, m and m's or cinnamon. These are just some suggestions, be creative!
- Put the cookies into a food processor or a blender (a food processor will work better but sometimes in a pinch, a blender can work) and pulse or blend to your liking. I personally like for the cookies to have some chunks. Not totally pulverized. If you want the cookies to be totally ground up, that is fine too.
- Take the cream cheese and slice into slivers or chunks. Add this into the cookie crumbs and blend again until everything is mixed.
- Or you can pour the crumbs into a bowl, add the cream cheese and use a hand mixer to combine everything.
- Once everything is mixed, use your hands to form the dough into balls. I'd say about a tablespoon each. It is up to you though, you can have big or small ones.
- Place the balls onto a cookie sheet with wax paper or silpat. Put the balls into the freezer while you melt the chocolate. It is best for the balls to be cold when you are dipping them.
- To melt the chocolate...you can use the double boiler method to melt the chocolate and oil or butter together. Or in a pot or small skillet over low or low-medium heat, melt the chocolate and oil or butter together.
- Don't leave and keep stirring until everything is mixed and melted.
- Remove from heat. Or if you are using a ready to use melting chocolate, follow the instructions on the package on how to melt and use.
- Grab the balls from the freezer and start dipping. I usually grab two utensils and with them, I take the ball and try to dip or cover it with as much chocolate as possible so all of it is covered.
- Take a spoon and transfer the ball from the chocolate to the cookie sheet.
- If you are adding toppings, now is the time to sprinkle whatever topping on top. This needs to be while the chocolate is till wet so the topping will stick.
- Once they are all done, put the sheet back into the fridge if you have time or freezer if you need these right away. The chocolate needs to harden. Once the chocolate has hardened, they are ready to eat.


